TL;DR
- Clean and dry the area before fixing.
- Seal leaks with caulk or specialized gutter sealant.
- Reinforce joints using aluminum or copper flashing.
- Test your work by running water through the gutter.

Why Fixing Gutter Joints Matters
Have you ever noticed water dripping along a joint or seam after a rain? That’s a leak—and it can damage your roof, siding, and even the foundation if left alone. I’ve walked roofs and tightened joints hundreds of times, and here’s what I’ve learned:
- Most leaks start where gutters connect.
- Seams and joints wear out faster due to movement and weather.
- Fixing them early saves thousands in repairs.
💪 Step-by-Step: Repairing Gutter Joints & Seams
1. Inspect and Clean
Start by looking for signs of damage:
- Water stains under the joint
- Rust or corrosion
- Sagging or separated seams
Then, clean out debris like leaves and mud. Use gloves, a gutter scoop, or a hose. Let everything dry fully. Sealants won’t stick to wet or dirty surfaces.
2. Choose the Right Sealant
Here’s what works best:
- Gutter caulk: Made for outdoor use, flexible in hot/cold weather
- Polyurethane sealant: Super strong and durable
- Avoid regular silicone—it breaks down fast in sunlight and temperature swings
3. Apply the Sealant
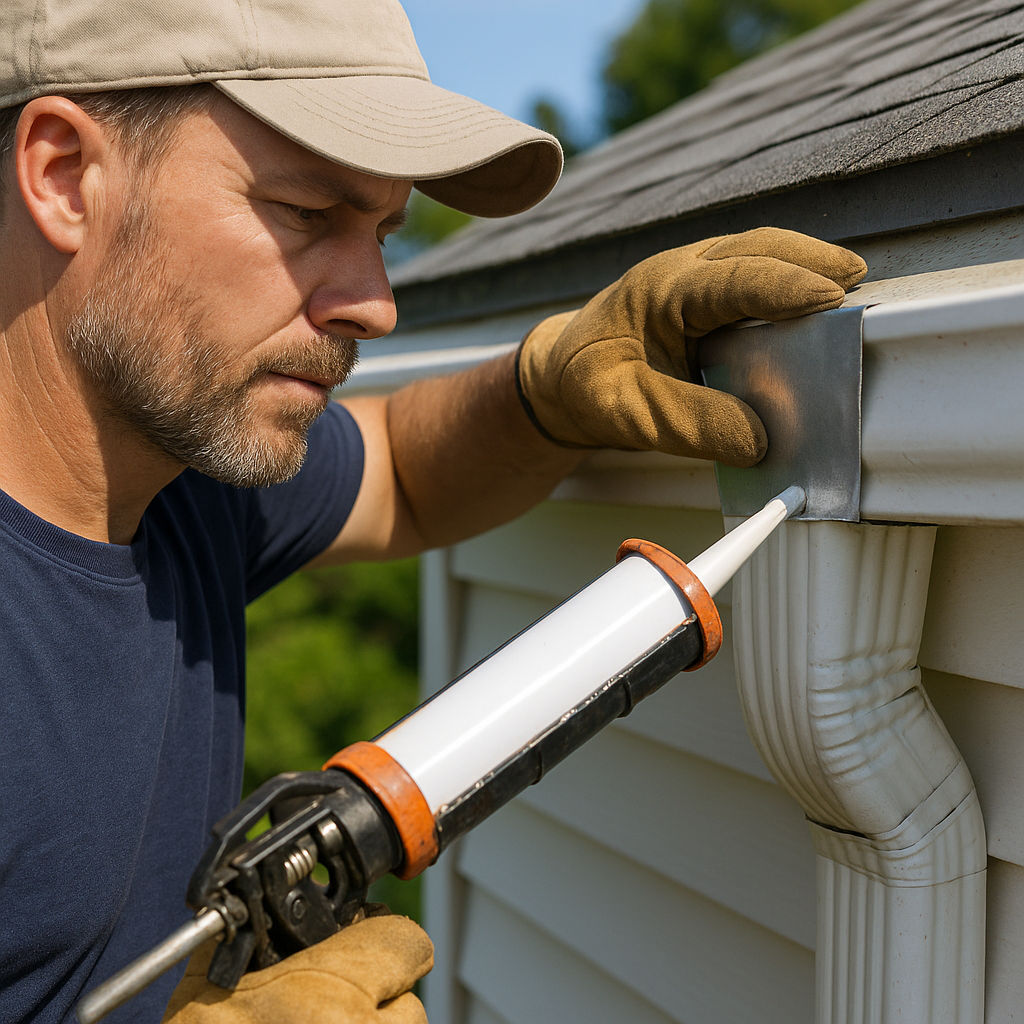
Once dry, apply your sealant directly to the seam. Here’s how:
- Cut the nozzle at an angle.
- Squeeze a thick bead along the inside of the joint.
- Smooth it out with your finger or tool.
Don’t forget the outside seam for extra protection.
4. Reinforce with Flashing (for Big Leaks)
This step isn’t always needed, but it’s smart for older or big leak areas:
- Use ½-inch aluminum or copper flashing.
- Cut to size and press it over the joint.
- Seal all edges with gutter caulk.
It acts like armor for your joint.
5. Let It Cure
Sealant needs time to dry. Most types set in:
- 24 to 48 hours for a full cure
- Don’t run water or test until it’s cured
Check the product label to be sure.
6. Test Your Repair
Use a garden hose to run water through the gutter. Watch for:
- Drips or leaks under the joint
- Overflowing or pooling at the seam
If needed, reapply a second layer and repeat.
Real-World Tip
“One homeowner’s gunk-filled gutter made resealing pointless—clean first, then seal.”
I helped a customer who tried sealing over grit and leaves. It lasted a week. Once we cleaned it and sealed properly, it held through two storm seasons.
Final Thoughts: Don’t Let a Little Leak Become a Big Problem
Fixing leaks at gutter joints is simple when you break it down: clean, seal, reinforce, test. You don’t need fancy tools or a pro installer.
Just follow the steps and you’ll save your siding, protect your roof, and keep your foundation dry.
Need help choosing the best sealant or tools? Just ask—I’m here to help, partner
Need a Hand? We’ve Got You Covered
Sometimes a DIY fix just isn’t enough—and that’s okay! If your gutters still leak or you’re dealing with a bigger issue, give us a call at +1 888-886-2526. Our pros are ready to help nationwide across the U.S., and we’ll get your gutters back in shape fast and hassle-free.