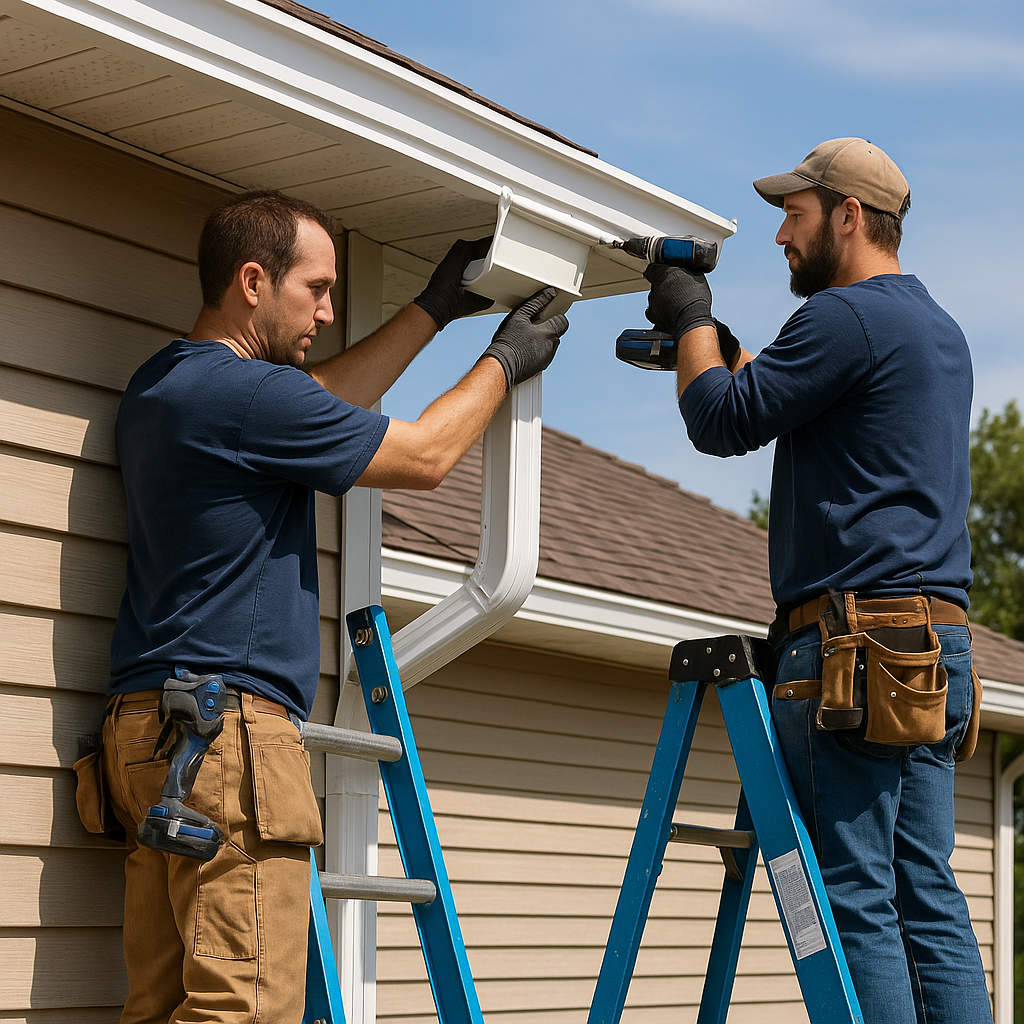
Ever wondered how hard it really is to install gutters yourself? You might be surprised—it’s easier than you think, especially when you’ve got the right plan and tools. Whether you’re fixing sagging gutters or doing a full install on a new home, this guide will walk you through the process, step by step.
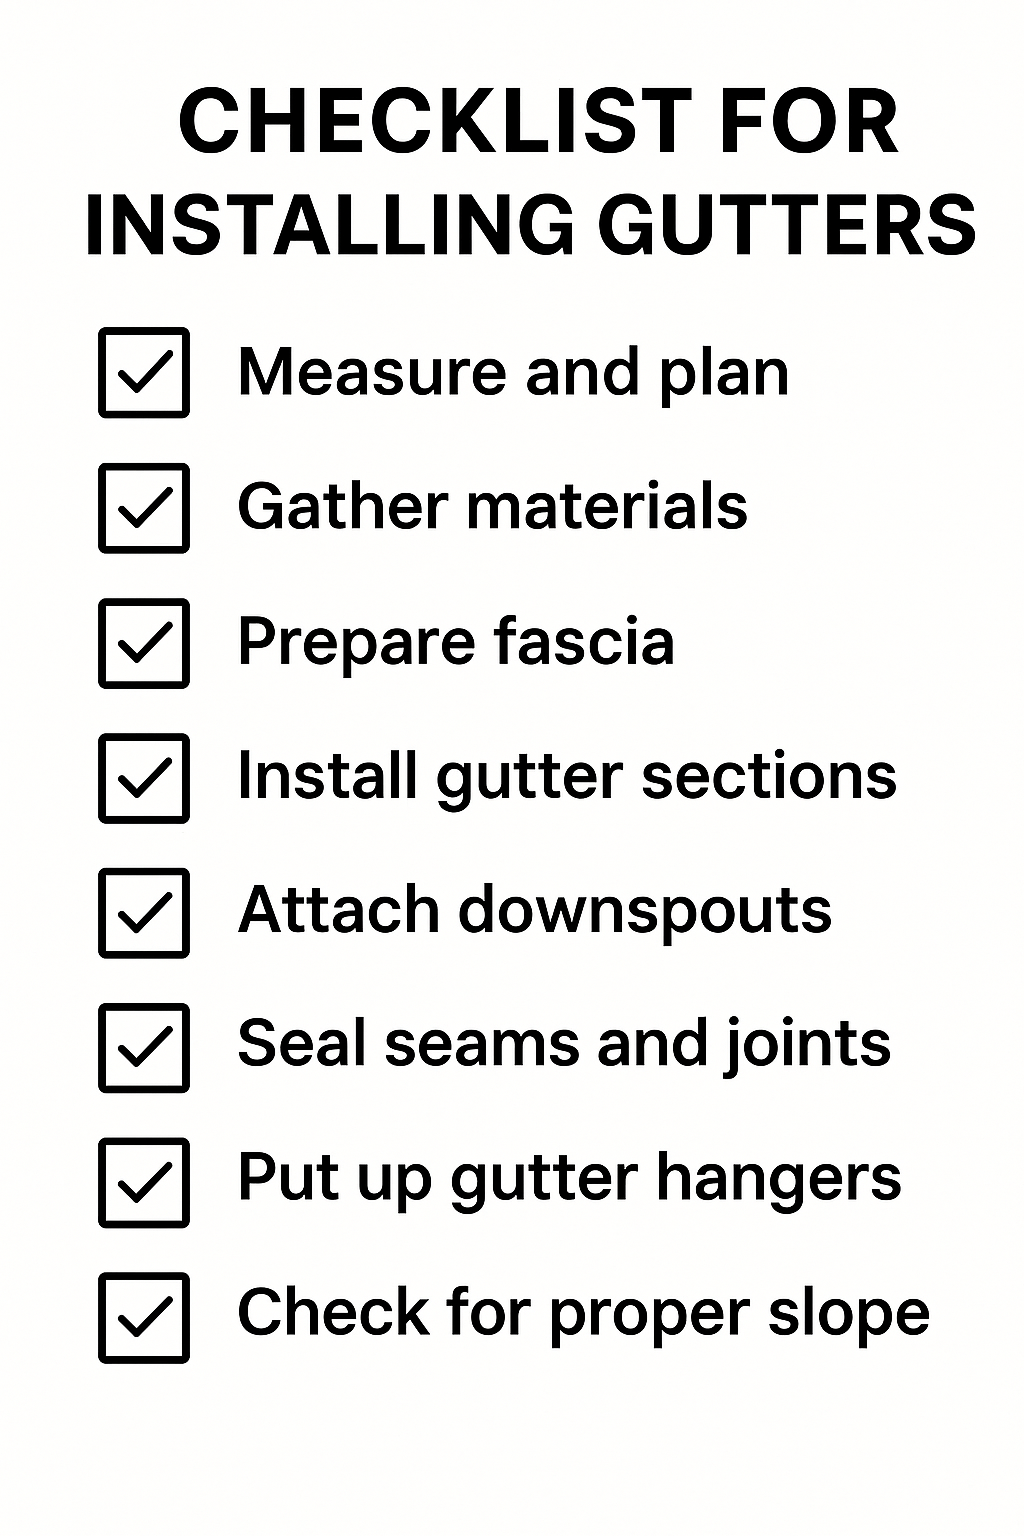
TL;DR: Quick Checklist for Installing Gutters
- Measure and plan your layout
- Gather the right tools and materials
- Install downspouts first
- Attach gutter sections with proper slope
- Secure with hangers every 2-3 feet
- Seal joints and add end caps
Step 1: Measure and Plan
Start by walking around your home. Where does the water pool after it rains? Where do you need drainage most?
- Measure the roofline where you want the gutters.
- Plan for slopes: Aim for a quarter inch drop every 10 feet.
- Decide on the best downspout locations (usually at corners or low spots).
Pro Tip: Always buy a little extra material—you’ll thank yourself later!
Step 2: Gather Tools and Materials
Here’s what you’ll need:
- Aluminum or vinyl gutters
- Downspouts
- Gutter hangers or brackets
- End caps, miters, and elbows
- Sealant or gutter caulk
- Hacksaw or tin snips
- Cordless drill and screws
- Ladder and safety gear
Don’t forget gloves—gutters can have sharp edges!
Step 3: Install Downspouts First
Most DIYers skip this—but trust me, downspouts are the backbone of your drainage.
- Cut openings in gutter sections for the downspout outlets.
- Attach the outlet with sealant.
- Use elbows and straps to run the downspout down the wall.
- Secure with screws and straps.
Step 4: Attach Gutter Sections
Now it’s time to line your roof with gutters.
- Start at the highest point and work toward the downspouts.
- Use string or chalk lines to ensure your slope is consistent.
- Overlap sections by a few inches and seal joints.
Story Time: I once had a customer who ignored the slope advice. His gutters looked great—but didn’t drain at all. Always check your slope!
Step 5: Add Gutter Hangers
Support is key. Without enough hangers, your gutters will sag after the first heavy rain.
- Install hangers every 2-3 feet.
- Drill into the fascia board for strong support.
- Double check alignment and secure all screws tightly.
Step 6: Install End Caps and Test
You’re almost done—just cap it off.
- Add end caps to stop water from spilling out the sides.
- Seal with gutter caulk to prevent leaks.
- Run water through the system to check for leaks or backflow.
Bonus Tip: Add leaf guards now if you’re in a heavy tree area. Saves a ton of cleaning later!
Final Thoughts: Is DIY Right for You?
Installing gutters is totally doable if you’re comfortable on a ladder and can follow a plan. But if your roofline is tricky or you want it done fast and clean?
Call the pros. We’ve got the tools, training, and tricks to get it done right the first time.
📞 Need Help? Call Gutter Services Near Me at +1 888-886-2526 to schedule your install today!